Welcome to Garden KT, where we believe every home should have a plant that is both beautiful and functional. Few plants combine stunning sculptural form with genuinely practical uses quite like the Aloe Vera (Aloe barbadensis miller). Often referred to as the “first aid plant,” the Aloe is famous worldwide for the soothing, medicinal gel found within its thick, fleshy leaves.
While the Aloe is a hardy succulent known for its resilience and ability to withstand neglect, providing it with the right aloe plant care ensures it thrives, stays structurally strong, and produces the healthy, vigorous leaves you need for topical use. As a desert native, the Aloe has specific needs that, when met, make it one of the most rewarding and easy-to-manage additions to your indoor garden.
This comprehensive guide is your definitive resource for mastering aloe plant care. We will cover everything from understanding its botanical structure to the crucial do’s and don’ts of watering, the importance of sunlight, and simple steps for propagation and harvesting. By following these steps, you can cultivate a beautiful, thriving Aloe that is ready to serve as your natural, readily available remedy for minor cuts and burns.
Understanding the Aloe: The Foundation of Proper Aloe Plant Care
Before we dive into the daily routine, it is essential to understand the plant’s unique anatomy and its desert origins, as this dictates its specific aloe plant care needs.
Botanical Identity and Structure
The Aloe Vera is a member of the Asphodelaceae family and is classified as a succulent. This means its leaves are specially adapted to store large quantities of water, allowing it to survive long periods of drought.
- Fleshy Leaves: The thick, tough outer skin protects the inner part, which is composed of clear, jelly-like pulp (the famous Aloe gel). The leaves grow in a rosette pattern, radiating outward from a central point.
- Shallow Roots: Unlike many deep-rooted plants, the Aloe has a relatively shallow, spreading root system. This is a survival strategy that allows it to quickly absorb even small amounts of rainfall from the soil surface in its arid native habitat. This shallow rooting is a critical factor in selecting the right container and potting mix for proper aloe plant care.
- Toxicity Note: While the clear inner gel is safe and beneficial for topical use, the green outer skin and the yellow, sap-like latex layer between the skin and the gel contain a compound called aloin, which is a powerful laxative and can be toxic if ingested in large quantities by pets or humans. Always keep the plant out of reach of curious animals.
The Problem of Overwatering
Because the Aloe stores vast amounts of water in its leaves, it is exceptionally vulnerable to root rot if its soil remains wet for too long. Root rot is, by far, the number one cause of Aloe death. Therefore, the core principle of successful aloe plant care is simple: Less water is always better than too much water.
Essential Aloe Plant Care Requirements: Light, Water, and Soil
Successfully nurturing your Aloe boils down to replicating the hot, dry, and bright conditions of its natural environment.
1. Light: Bright is Best
Aloe plants require high light intensity to stay compact, strong, and green.
- Optimal Light: Bright, indirect light is the gold standard for aloe plant care. A sunny windowsill (south or west-facing) is usually perfect, provided the sun is filtered through a sheer curtain or set back slightly to avoid scorching.
- Direct Sun: While they can tolerate some morning direct sun, intense, unfiltered afternoon sun, especially behind glass, can cause the leaves to turn an unsightly reddish-brown color, which is a sun stress response.
- Low Light: The Aloe will survive in lower light conditions, but it will become etiolated (stretched out and pale) and weak, losing its attractive, compact rosette shape. The leaves will grow long, thin, and floppy as the plant searches for light.
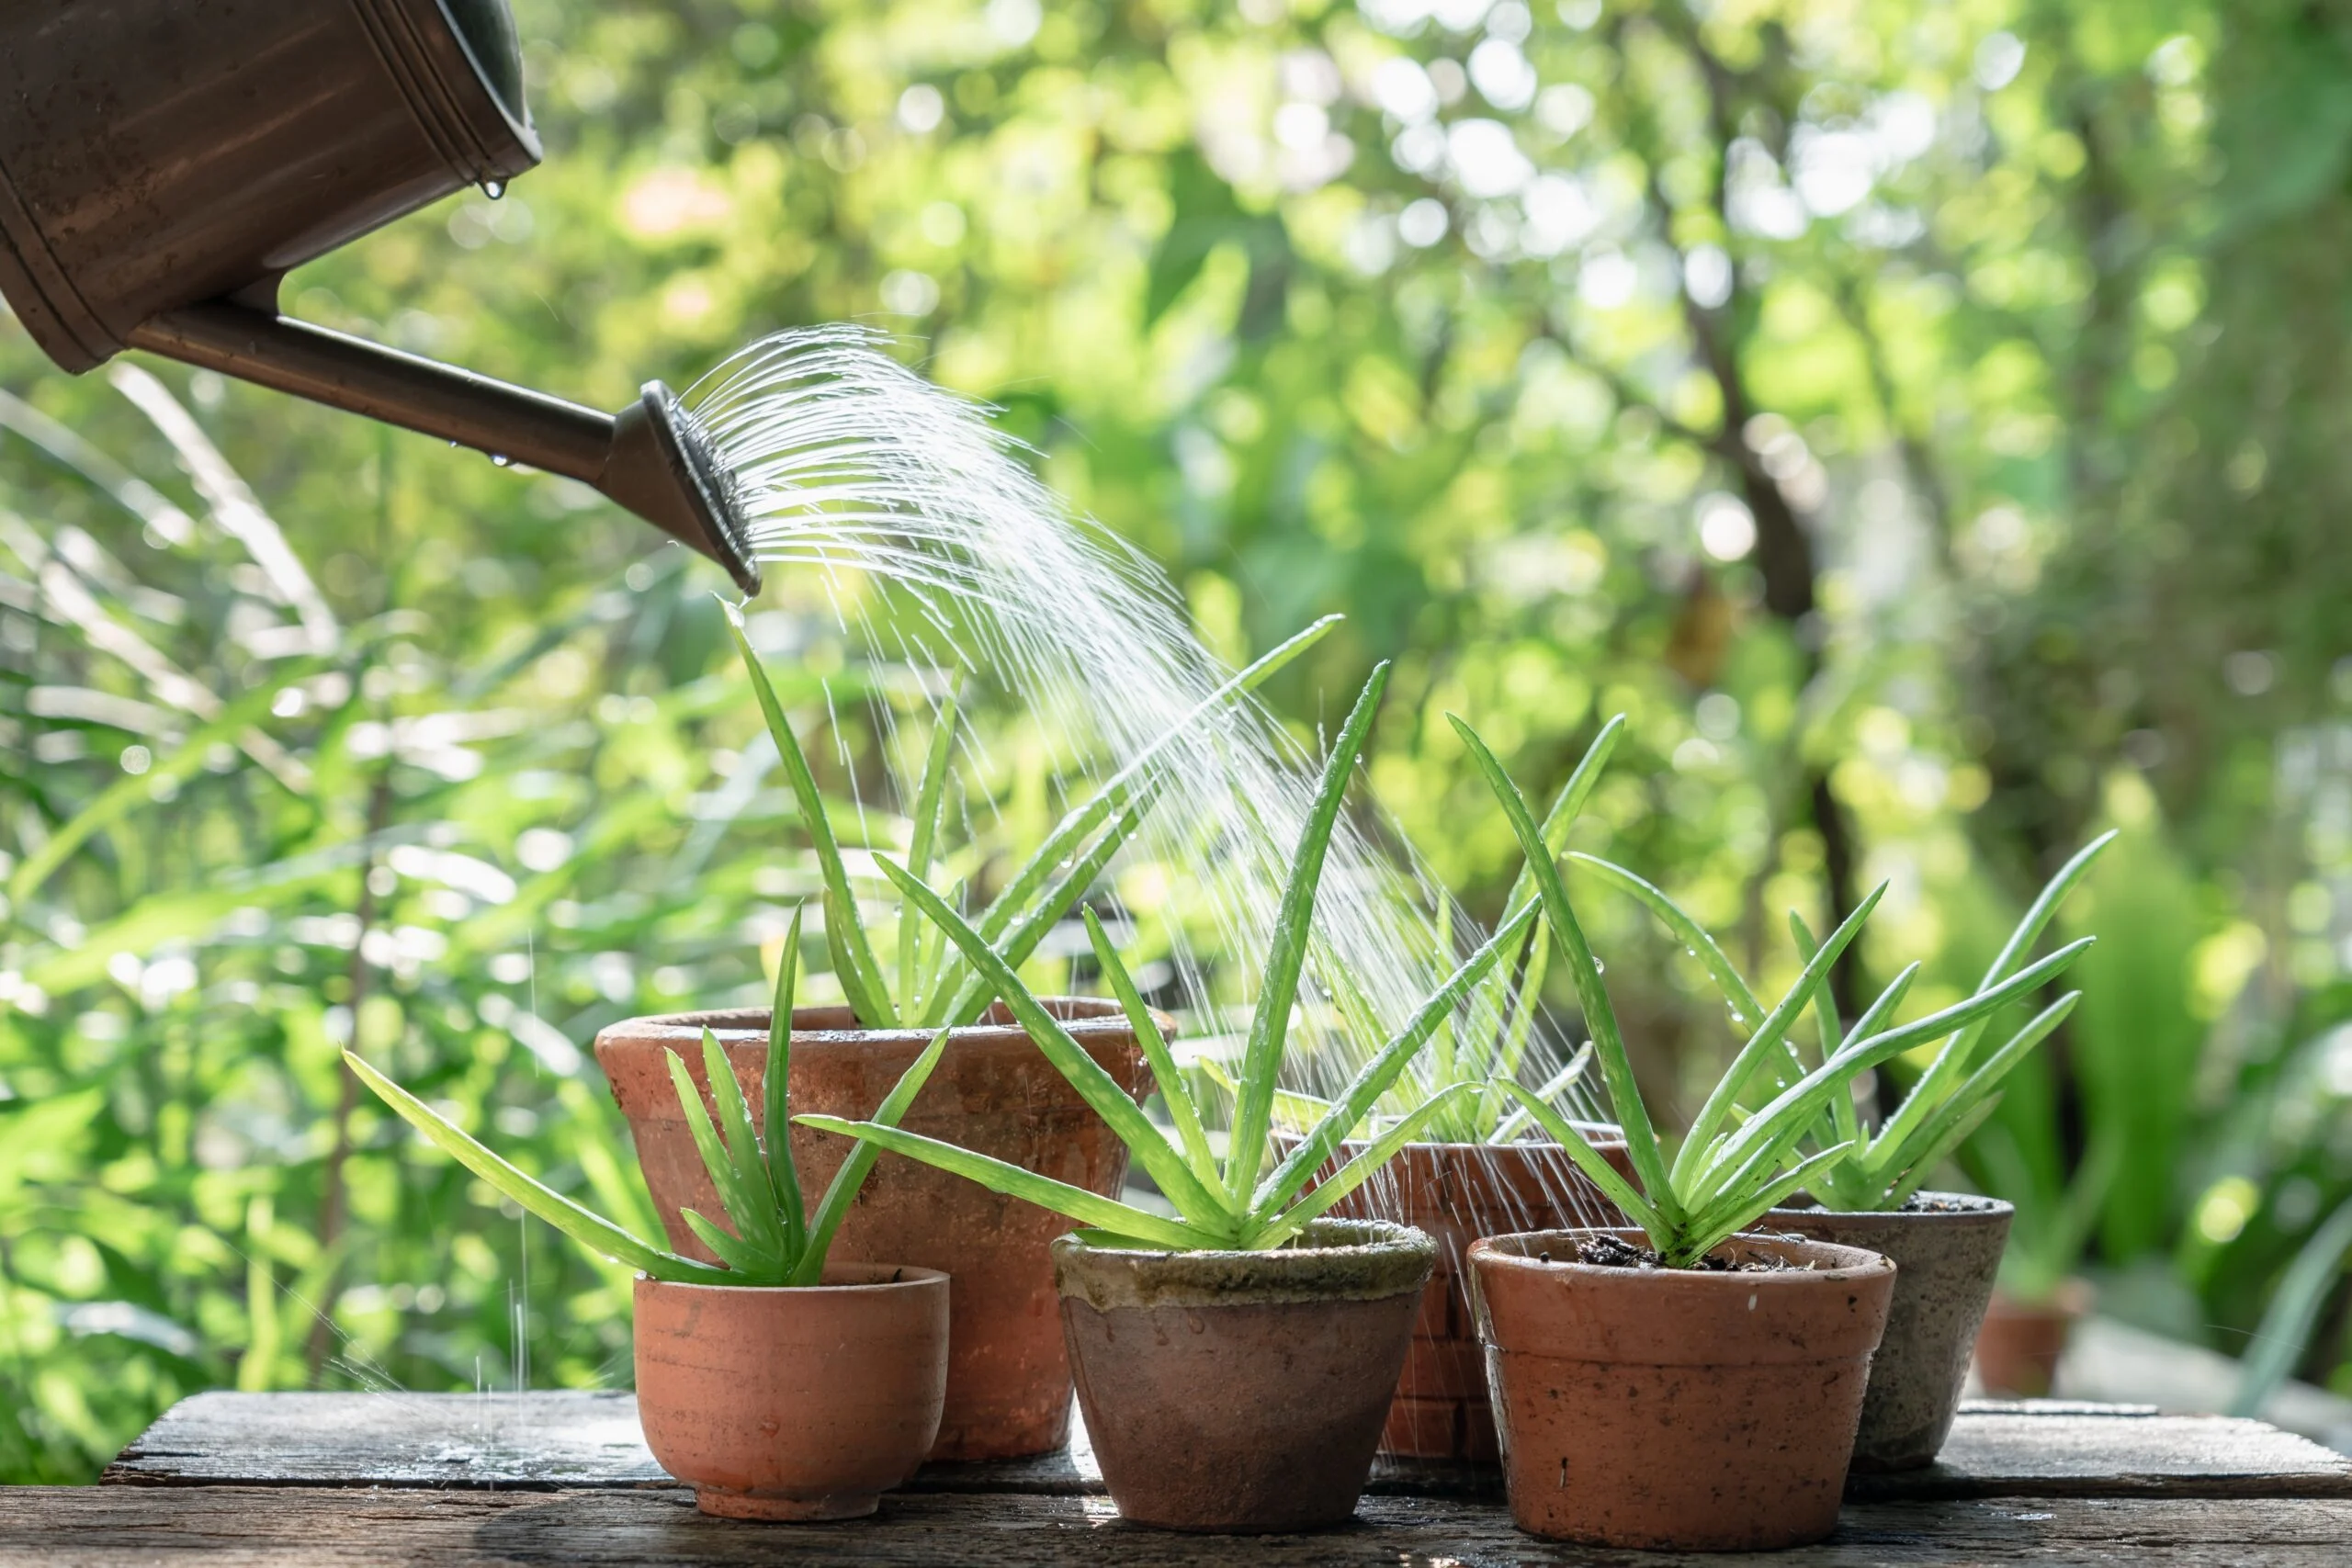
2. Watering: The Foundation of Good Aloe Plant Care
Mastering the watering routine is the most critical component of aloe plant care.
- The Soil Test: Forget a watering schedule. Instead, water only when the entire soil volume is completely dry. To test this, stick your finger 2 inches deep, or even better, lift the pot to judge its weight. When the pot feels surprisingly light, it is time to water.
- How to Water: When you do water, water thoroughly. Pour water over the soil until it drains freely from the drainage holes at the bottom of the pot. This process flushes out built-up salts and ensures the entire root system gets moisture.
- Seasonal Adjustment: The Aloe enters a semi-dormant period during the cool, low-light months of fall and winter. During this time, dramatically reduce your watering frequency (often watering only once every 4 to 8 weeks, depending on your home’s humidity).
3. Soil and Drainage: The Desert Mix
Because of the high risk of root rot, the potting medium and the container choice are critical to aloe plant care.
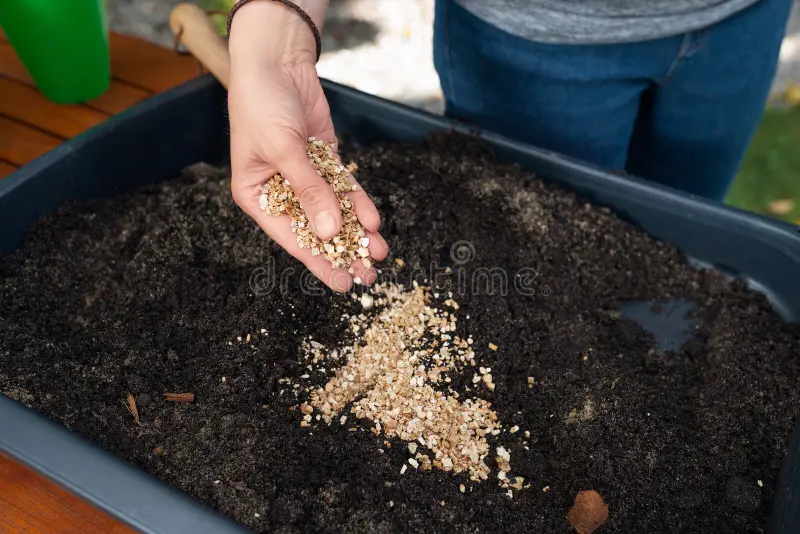
- Soil: Use a specialized cactus and succulent potting mix. These mixes are formulated with coarse materials like sand, perlite, and pumice to provide exceptional drainage and aeration. If you use standard potting soil, mix it with an equal part of perlite or coarse sand to improve the drainage properties.
- Container: Always use a pot with a drainage hole. Clay or terracotta pots are excellent choices for the Aloe because the porous material wicks excess moisture away from the soil and allows the soil to dry out faster, which is highly beneficial for the plant’s health.
Ongoing Maintenance: Repotting, Pruning, and Feeding
Once the foundation is set, regular maintenance ensures your Aloe continues to flourish and grow vigorously.
Repotting
Aloe plants should be repotted every two to three years, or when they become severely root-bound or their “pups” (offsets) begin to overcrowd the pot.
- When to Repot: The best time is in the spring or early summer, just as the plant enters its active growth phase.
- Pot Size: When repotting, only move up one size (e.g., from a 6-inch to an 8-inch pot). As a shallow-rooted plant, a very deep or overly large pot can hold too much moisture, again increasing the risk of root rot.
- Process: Gently remove the plant, clean off any old, compacted soil, and replant in a fresh, well-draining succulent mix, ensuring the base of the plant is at the same level as the surrounding soil.
Fertilizing
Aloe plants, being desert survivors, are adapted to nutrient-poor soil and require very little fertilizer.
- Timing: Feed sparingly, only once or twice during the peak growing season (late spring and mid-summer).
- Type: Use a balanced houseplant fertilizer (like a 10-40-10 or one specifically for succulents) diluted to half or even quarter strength. Over-fertilizing can lead to weak, rapid growth and make the plant more susceptible to disease.
Grooming and Pruning
Pruning on an Aloe typically involves removing dead leaves and separating pups.
- Dead Leaves: Remove any leaves at the base that have shriveled, turned brown, or died. Use a clean, sharp knife to cut them away close to the main stem.
- Floppy or Broken Leaves: If a leaf breaks or becomes floppy due to poor light (etiolation), you can remove it. You can save and use the gel from a broken leaf.
Propagating Your Aloe: Separating the Pups
A thriving Aloe Vera will naturally produce small, baby plants called “pups” or “offsets” around the base of the mother plant. Separating and potting these pups is the easiest and most common form of Aloe propagation.
- Wait for Size: Wait until the pup is at least 2-3 inches tall and has developed a few leaves of its own before attempting to separate it.
- Separate: Unpot the entire plant. Gently tease the pup away from the mother plant, ensuring it has its own small section of roots attached. If necessary, use a sharp, sterilized knife to cut the connecting root.
- Callous: Allow the separated pup to sit in a dry, shaded place for 2-5 days. This waiting period allows the “wound” to dry and form a protective seal, or callous, which is essential for preventing fungal infection once it is planted.
- Potting: Plant the calloused pup in a small pot using fresh, dry succulent soil. Do not water the newly planted pup for at least one week to encourage it to develop new, strong roots to seek out moisture. This period of slight stress increases the chances of successful establishment.
Troubleshooting Common Aloe Plant Care Problems
Knowing how to interpret the signs of stress is crucial for successful aloe plant care.
| Symptom | Cause | Solution |
| Brown or Reddish-Brown Leaves | Too much direct, intense sun (Sun Stress). | Move the plant to a spot with bright, but filtered, indirect light. |
| Yellow, Mushy, or Transparent Leaves | Overwatering (Root Rot). | Stop watering immediately. Allow soil to dry out. If severe, unpot, remove any rotten, black roots, and repot in fresh, dry soil. |
| Leaves Flat, Thin, or Floppy | Underwatering or poor light (etiolation). | Check the soil; if dry, water thoroughly. If the plant is tall and skinny, move it to a brighter location to promote compact, healthy growth. |
| Black or Dark Spots on Leaves | Fungal disease (often related to high humidity/overwatering). | Improve air circulation, reduce watering, and cut off severely affected leaves with a sterile knife. |
| White Cottony Patches | Mealybugs (a common pest). | Treat with rubbing alcohol on a cotton swab or systemic insecticide if the infestation is severe. |
The Lasting Reward of Aloe Plant Care
The Aloe Vera is far more than just a decorative succulent. It is a resilient, low-maintenance houseplant that provides a unique blend of visual beauty and practical usefulness. While its tolerance for neglect makes it a wonderful choice for busy gardeners, taking the time to understand and provide the correct aloe plant care—chiefly, bright light and mindful, infrequent watering—will ensure your plant grows into the dense, healthy, and robust specimen it is meant to be.
By providing the ideal conditions, you guarantee a continuous supply of that soothing gel, ready to use whenever minor accidents occur. Plant an Aloe today, and you are adding a timeless desert survivor to your home that works as hard as it looks beautiful.