Welcome to GardenKT. There is something truly magical about growing garlic. You start with a single clove, bury it in the soil, and months later, you pull up an entire bulb packed with flavor. Unlike more demanding vegetables, garlic is a relatively low-maintenance crop that rewards patience with an incredibly satisfying harvest. Whether you have a large garden bed or a few containers on a patio, you can learn how to grow garlic successfully.
This guide will walk you through the entire process, from selecting the right type of garlic and preparing your soil to the final steps of harvesting and curing your bulbs. By following these simple steps, you will be able to enjoy your own homegrown garlic, which has a taste so superior to store-bought varieties that you may never go back.
Why You Should Grow Your Own Garlic
Before we dig into the how, let us consider the why. Growing your own garlic offers several wonderful benefits:
-
Unbeatable Flavor: Homegrown garlic is fresher, more aromatic, and more complex in flavor than anything you can buy in a supermarket.
-
Variety: You are not limited to the standard softneck varieties found in stores. You can explore a world of hardneck garlics with unique flavors, colors, and even edible scapes.
-
Cost-Effective: One bulb of garlic can give you 8-10 cloves to plant, which will turn into 8-10 new bulbs. It is a very economical crop.
-
Organic and Chemical-Free: You have complete control over how your garlic is grown, ensuring it is free from unwanted chemicals.
The Two Main Types of Garlic: Choosing What to Grow
The first step in learning how to grow garlic is understanding the two main types. Your choice will depend on your climate and your flavor preferences.
1. Hardneck Garlic (Allium sativum var. ophioscorodon)
Hardneck garlic varieties are known for producing a hard, central stalk called a scape. They are generally preferred by gardeners in colder climates with harsh winters.
-
Characteristics: Produces a woody stalk in the center of the bulb. It typically has fewer, but larger, cloves arranged in a single circle around the stalk. The flavor is often more complex and robust.
-
Climate: Best for colder winter regions (USDA zones 3-6).
-
Key Feature: It sends up a flower stalk called a “garlic scape” in early summer. These scapes are edible and delicious, with a mild garlic flavor, and should be removed to encourage larger bulb growth.
2. Softneck Garlic (Allium sativum var. sativum)
This is the type most commonly found in grocery stores. Softneck garlic does not produce a hard central stalk and is better suited to warmer climates.
-
Characteristics: The neck of the plant remains soft after harvest, making it ideal for braiding. Softneck bulbs usually have more cloves, often in multiple layers, and they tend to have a longer shelf life than hardneck varieties.
-
Climate: Best for milder winter regions (USDA zones 5-9).
-
Key Feature: Excellent storage quality and the classic choice for braiding.
For most gardeners in northern regions, hardneck garlic is the best choice, while those in southern regions will find more success with softneck. You can buy seed garlic from a local nursery or a reputable online supplier to ensure you get a variety suited to your area.
When to Grow Garlic: Timing is Everything
A critical part of knowing how to grow garlic is getting the timing right. Garlic is typically planted in the fall. This allows the cloves to establish roots before the ground freezes, without sending up shoots. They then go through a period of dormancy in the winter, which is essential for the bulb to develop properly.
-
Fall Planting: The general rule is to plant garlic 4-6 weeks before the ground freezes solid. For most regions, this is between mid-October and late November. The goal is to give the clove enough time to grow roots but not so much time that it sends up green growth that will be killed by winter frost.
-
Spring Planting: While fall planting is ideal, you can plant garlic in the very early spring as soon as the soil is workable. However, spring-planted garlic often results in smaller bulbs, as the cloves miss the important cold period.
How to Grow Garlic: A Step-by-Step Guide
Step 1: Select and Prepare Your Garlic Cloves
Do not be tempted to plant garlic from the grocery store. It is often treated with a sprout inhibitor and may not be a variety suited to your climate. Instead, purchase “seed garlic” from a trusted source.
When you have your bulbs, carefully break them apart into individual cloves just before planting. Do this gently to avoid damaging the base of the clove, where the roots will emerge. Leave the papery skin on each clove.
Step 2: Prepare the Planting Site
Garlic thrives in loose, fertile, and well-draining soil. It loves full sun, so choose a spot that gets at least 6-8 hours of direct sunlight per day.
-
Loosen the Soil: Use a garden fork or tiller to loosen the soil to a depth of at least 8-12 inches.
-
Amend the Soil: Garlic is a heavy feeder. Work in several inches of well-rotted compost or aged manure into the soil. You can also add a balanced, slow-release organic fertilizer. For more on creating the perfect environment for your crops, see our guide on preparing your vegetable garden bed.
-
Ensure Good Drainage: If your soil is heavy clay and tends to stay wet, consider planting in a raised bed to prevent the bulbs from rotting.
Step 3: Plant the Cloves
Now for the main event.
-
Spacing: Plant cloves 4-6 inches apart from each other.
-
Row Spacing: Space rows 12-18 inches apart to allow for weeding and growth.
-
Depth and Orientation: Plant each clove pointed end up, 2-3 inches deep. A good rule of thumb is to plant it at a depth that is twice the height of the clove.
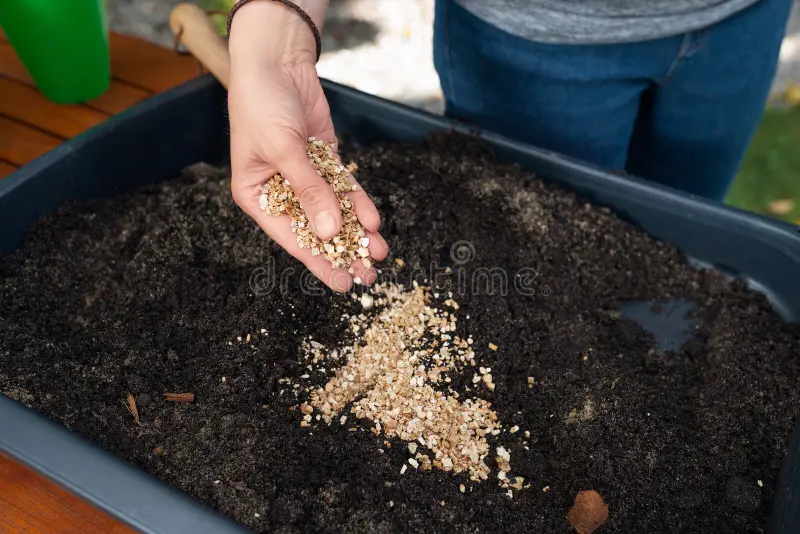
Step 4: Mulch Heavily
After planting, water the area well. Then, apply a thick layer (4-6 inches) of loose, weed-free mulch like straw, shredded leaves, or grass clippings. This mulch layer is crucial as it insulates the soil, protects the cloves from harsh winter temperatures, and suppresses weed growth in the spring.
Caring for Your Garlic Throughout the Season
Garlic requires minimal care, but a few key tasks will ensure a healthy, large harvest.
-
Watering: Garlic needs consistent moisture, especially in the spring and early summer when bulbs are forming. Water deeply when the top inch of soil feels dry. Reduce watering in the last few weeks before harvest to allow the bulbs to cure in the ground and prevent rot.
-
Fertilizing: In the early spring, as green shoots emerge, side-dress your garlic with a nitrogen-rich fertilizer like blood meal or a balanced organic fertilizer. You can do this again about a month later. The Old Farmer’s Almanac provides excellent general guidelines for fertilizing vegetables.
-
Weeding: Keep the area around your garlic free of weeds, as they will compete for nutrients and water. Be careful when weeding not to damage the shallow roots of the garlic plants.
-
The Importance of Scapes: If you are growing hardneck garlic, you will see curly scapes appear in early summer. It is important to cut these off. This redirects the plant’s energy from producing a flower back into swelling the bulb. The good news is that scapes are a delicious bonus harvest! You can chop them and use them in pestos, stir-fries, and soups.
How and When to Harvest Garlic
Knowing when to harvest is the final, critical step in how to grow garlic. Harvest too early, and your bulbs will be small; too late, and the cloves may have burst out of their skins, reducing their storage life.
-
Timing: For hardneck garlic, harvest time is usually in mid-to-late summer. Softneck garlic may be ready a few weeks later. The visual cue is the leaves. When the lower 3-4 leaves have turned brown, but the top 5-6 are still green, it is time to harvest.
-
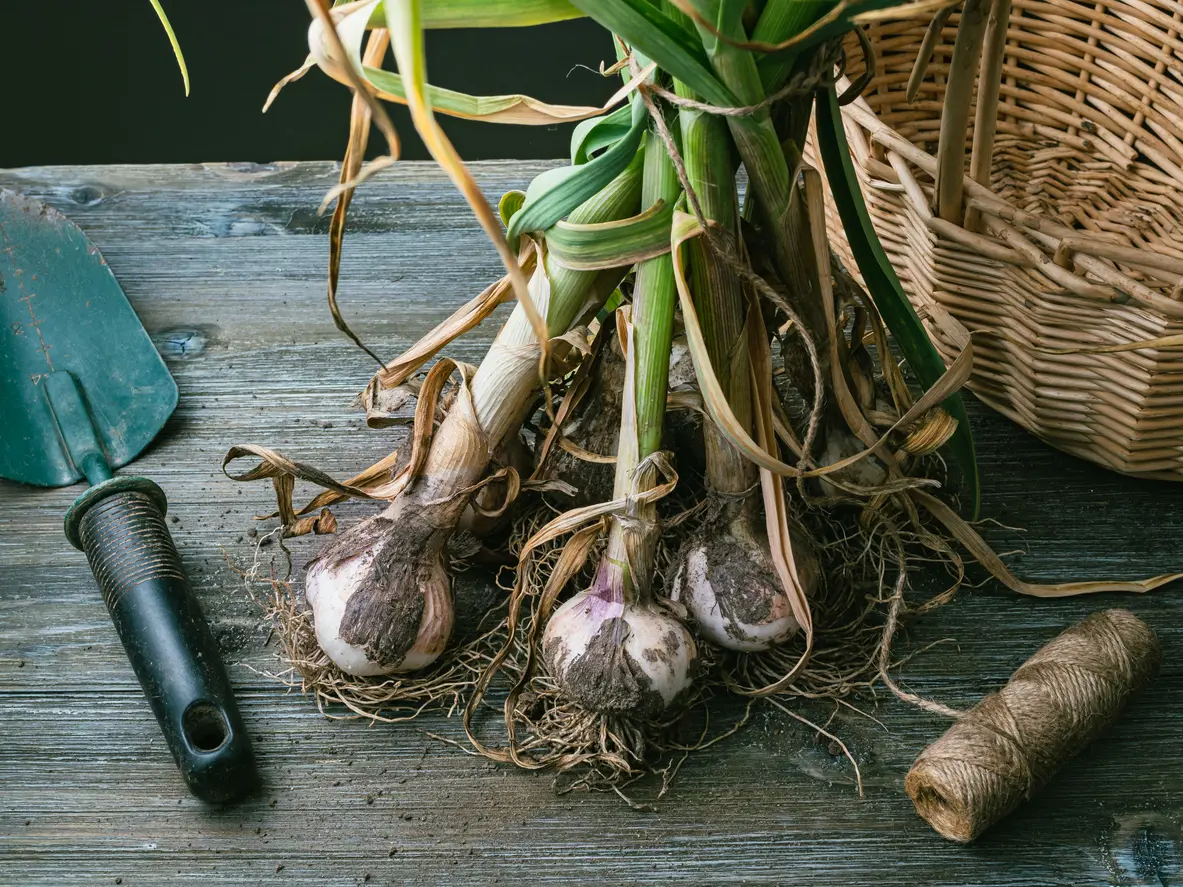
How to Harvest: On a dry day, carefully loosen the soil with a garden fork, inserting it several inches away from the bulb to avoid spearing it. Gently lift the bulb out of the ground. Do not pull by the stem, as it may break off.
Curing and Storing Your Garlic Harvest
Proper curing is essential for long-term storage.
-
Brush Off Soil: Gently brush off any excess soil. Do not wash the bulbs, as moisture will cause mold.
-
Cure in a Dry, Airy Place: Lay the garlic in a single layer on a rack or hang it in small bunches in a well-ventilated, shaded, and dry area like a garage or shed. Let it cure for 3-4 weeks.
-
Check for Dryness: The garlic is fully cured when the outer skin is papery and the roots are hard and dry. The neck should feel tight when you squeeze it.
-
Trim and Store: Trim the roots and cut the stalks down to an inch or two (or leave them long for braiding softneck varieties). Store your cured garlic in a cool, dark, and dry place in mesh bags or baskets.
Learning how to grow garlic is a rewarding journey that connects you to the rhythm of the seasons. With a little preparation and patience, you can enjoy the unparalleled satisfaction of harvesting your very own supply of this essential kitchen ingredient.