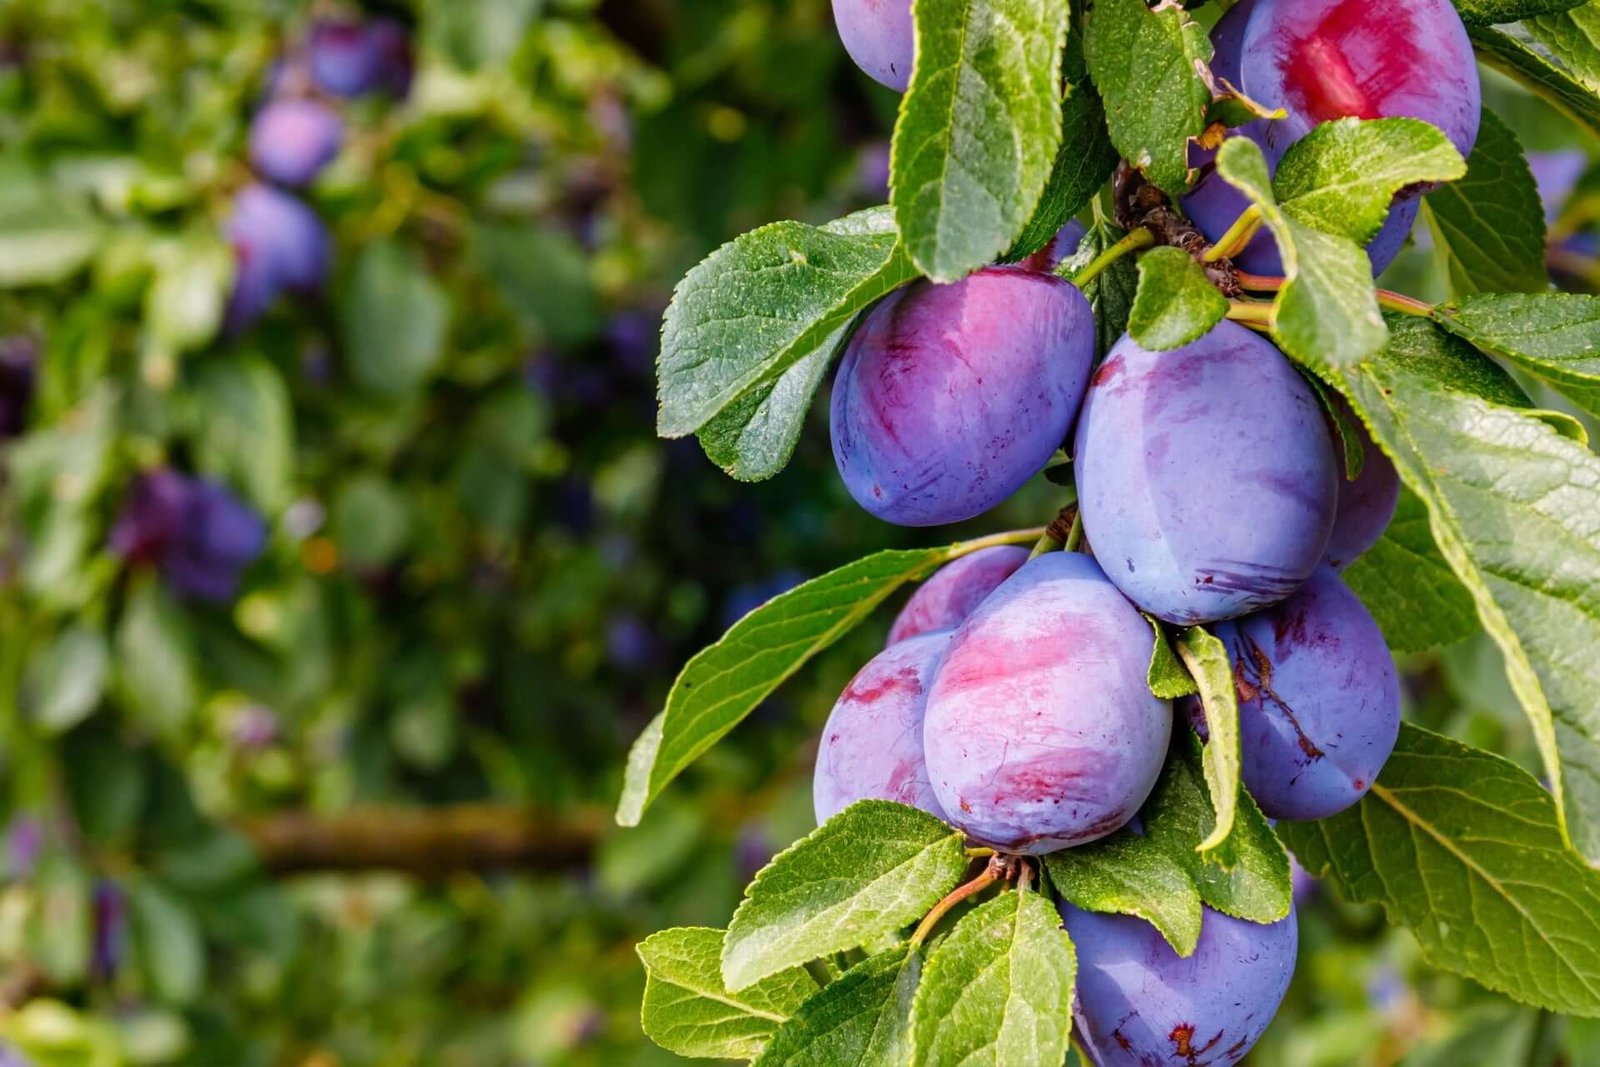
Your Complete Guide to Growing a Happy and Healthy Plum Tree
There is something incredibly satisfying about growing your own fruit. The journey from a bare-root sapling to a tree laden with juicy, sun-ripened plums is a rewarding experience for any gardener. Plum trees are a fantastic choice for both beginners and seasoned experts. They offer beautiful spring blossoms, lush summer foliage, and of course, a delicious harvest.
If you’ve ever considered adding a plum tree to your garden, this guide is for you. We will walk you through every step, from choosing the right variety to harvesting your first perfect plum.
Why Choose a Plum Tree for Your Garden?
Before we dig into the how-to, let’s look at why plum trees are such a wonderful addition. They are generally more compact than many other fruit trees, making them ideal for smaller gardens. They are also relatively fast-growing, meaning you won’t have to wait a decade for your first taste of homegrown fruit. With proper care, a plum tree can become a productive and beautiful centerpiece in your edible landscape.
Step 1: Selecting the Perfect Plum Tree
Success starts with choosing the right tree for your specific climate and space. Not all plum trees are the same, and this initial decision is the most important one you will make.
Understanding Your Climate Zone
Plum trees thrive in a range of climates, but different varieties have different “chill hour” requirements. Chill hours are the number of hours below 45°F (7°C) a tree needs in winter to break dormancy and produce fruit. If you live in a mild winter area, you’ll need a low-chill variety. For colder regions, a high-chill variety is essential. Check with your local garden center or extension service for the best plum tree types for your area.
European vs. Japanese Plums
There are two main types of plum trees you will encounter:
-
European Plums (Prunus domestica): These are often oval-shaped, with a dense, sweet flesh. They are excellent for fresh eating, drying into prunes, and cooking. They tend to be slightly more cold-hardy and self-fertile.
-
Japanese Plums (Prunus salicina): These are typically larger and rounder, with juicier flesh that can range from sweet to tart. They are primarily for fresh eating and are often not self-fertile, requiring a second, different variety for pollination.
Self-Fertile vs. Needing a Pollinator
This is a critical factor for a good harvest.
-
Self-Fertile Trees: A self-fertile plum tree can produce fruit with its own pollen. This is a huge advantage if you only have space for one tree. Many European varieties, like ‘Stanley’, are self-fertile.
-
Trees that Need a Pollinator: Many Japanese plums require a second, different plum tree blooming at the same time nearby to cross-pollinate and set fruit. If you choose a variety that needs a pollinator, you must plan for at least two trees.
Step 2: Planting Your Plum Tree
Once you have your perfect tree, it’s time to plant it. The best time to plant a bare-root plum tree is in late winter or early spring while the tree is still dormant. Container-grown trees can be planted in spring or early fall.
Choosing the Ideal Location
Your plum tree will need full sun, meaning at least 6 to 8 hours of direct sunlight per day. More sun equals sweeter fruit and a healthier tree. The site should have well-draining soil; plum trees hate having “wet feet.” Avoid low-lying areas where frost or water can settle.
The Planting Process
-
Dig a Hole: Dig a hole that is twice as wide as the root ball and just as deep. This loosens the soil, making it easier for the roots to expand.
-
Prepare the Tree: If the tree is bare-root, soak the roots in a bucket of water for 1-2 hours before planting. For a container tree, gently loosen the roots if they are circling the root ball.
-
Position the Tree: Place the tree in the hole, ensuring the graft union (the noticeable bump near the base of the trunk) is 2-3 inches above the soil line.
-
Backfill: Fill the hole back in with the native soil you removed. You can mix in a little compost, but avoid adding large amounts of fertilizer at planting time, as it can burn the tender roots.
-
Water Deeply: Create a small basin around the tree and water it thoroughly to settle the soil and eliminate air pockets.
-
Mulch: Apply a 2-3 inch layer of organic mulch, like wood chips or straw, around the base of the tree. Keep the mulch a few inches away from the trunk to prevent rot. Mulch conserves moisture and suppresses weeds.
For more general tree planting tips, you can refer to our guide on preparing your garden for new plants.
Step 3: Caring for Your Plum Tree
Ongoing care is simple but essential for a strong, productive tree.
Watering
Consistent watering is key, especially for young trees. Water deeply once a week, providing enough water to moisten the soil to a depth of 18-24 inches. During hot, dry spells, you may need to water more frequently. Once established, plum trees are somewhat drought-tolerant, but consistent watering will improve your fruit yield and quality.
Fertilizing
In the first year, your tree won’t need much fertilizer. After that, feed your plum tree in early spring before new growth starts. Use a balanced, all-purpose fertilizer or one formulated for fruit trees. The Royal Horticultural Society provides excellent detailed advice on nutrient requirements for fruit trees. Always follow the instructions on the package, as over-fertilizing can lead to excessive leafy growth at the expense of fruit.
Thinning the Fruit
This might feel counterintuitive, but thinning your fruit is one of the best things you can do. In early summer, after the natural fruit drop, you will often see clusters of small plums. Thin these to one fruit every 4-6 inches. This allows the remaining plums to grow larger and sweeter, prevents branches from breaking under the weight, and helps the tree produce a consistent crop year after year.
Step 4: Pruning Your Plum Tree for Success
Pruning is essential for maintaining the health, shape, and productivity of your plum tree. Unlike apple trees, plum trees are best pruned in late spring or early summer to reduce the risk of silver leaf disease, a serious fungal infection.
The Goals of Pruning:
-
Create an open, vase-like shape to allow sunlight and air to reach all parts of the tree.
-
Remove dead, diseased, or damaged wood.
-
Manage the tree’s size for easier harvesting.
How to Prune a Young Plum Tree:
In the first few years, focus on establishing a strong structure. Choose 3-4 sturdy, well-spaced branches to be your main “scaffold” branches and remove others.
How to Prune a Mature Plum Tree:
For a mature tree, the goal is maintenance. Each summer, after the initial growth spurt, prune back new side-shoots to about 6 leaves. This encourages the formation of fruit buds for the following year. Also, remove any vertical, water-sprout branches and any branches that are crossing or crowding the center.
Step 5: Harvesting and Storing Your Plums
The moment you’ve been waiting for! Harvest time typically falls between late summer and early fall, depending on your variety and climate.
Knowing When to Harvest
A plum’s color is a good indicator, but the best test is feel. A ripe plum will feel slightly soft when given a gentle squeeze. It should also detach from the tree with a simple twist. If you have to pull hard, it’s not ready.
How to Harvest
Handle your plums gently to avoid bruising. Twist the fruit gently from the stem.
Storing Your Bounty
Plums are best eaten fresh, but they store well for a short time. Place ripe plums in the refrigerator where they will keep for a few days. If you have a large harvest, plums are excellent for making jam, preserves, or baking into pies and crumbles. You can also pit and freeze them for use in smoothies later.
Common Problems and Solutions
Even with the best care, you may encounter an issue. Here are a few common ones:
-
Pests: Aphids and plum curculio are common pests. Encourage beneficial insects for aphid control. For curculio, shaking the tree (with a sheet underneath to catch them) in the early morning can help.
-
Diseases: Brown rot and black knot are fungal diseases. The best defense is good sanitation: rake up and dispose of fallen leaves and fruit. Pruning for good air circulation is also crucial for prevention.
-
No Fruit: If your tree isn’t producing, the most common causes are a lack of a pollinator (for varieties that need one), frost damaging the blossoms, or pruning at the wrong time (winter pruning removes fruit buds).
Conclusion: Enjoy the Fruits of Your Labor
Growing a plum tree is a long-term investment in your garden and your table. It requires a little patience and knowledge, but the reward of stepping into your backyard to pick a sweet, sun-warmed plum is unparalleled. By following these steps on selecting, planting, and caring for your plum tree, you are setting yourself up for years of successful harvests.